loading...
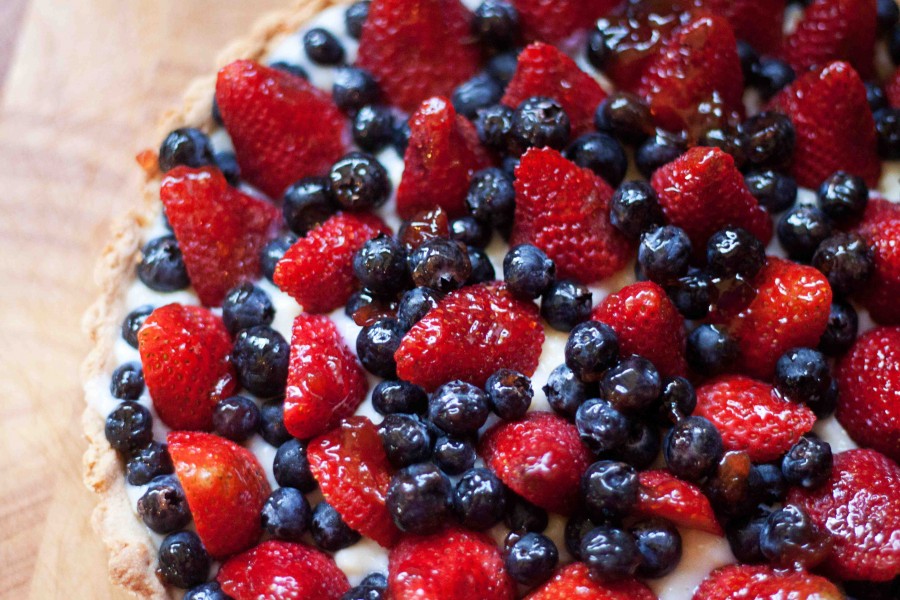
“This is the best thing you’ve ever made me. Seriously. Maybe it’s because I’m partial to fruit tarts, but I have to say, out of everything you’ve ever cooked…EVER…this is the best thing I’ve tried,” Jonathan says fork digging deep into the side of this fresh berry tart.
And Jonathan should know. He’s been on the receiving end of dozens of recipes for Clearly Delicious and has quite the discriminating palette.
“Even better than the pesto you like so much?” I ask, insistent.
“Waaaay better than the pesto. And I LOVE your pesto,” Jonathan persists.
All that for a French Berry Tart? I must say, I’ve impressed myself with the way Jonathan is responding. He’s not one for hiding his feelings about food and yet, he can’t stop licking the yellow custard from his fingers and picking off large chunks of strawberries.
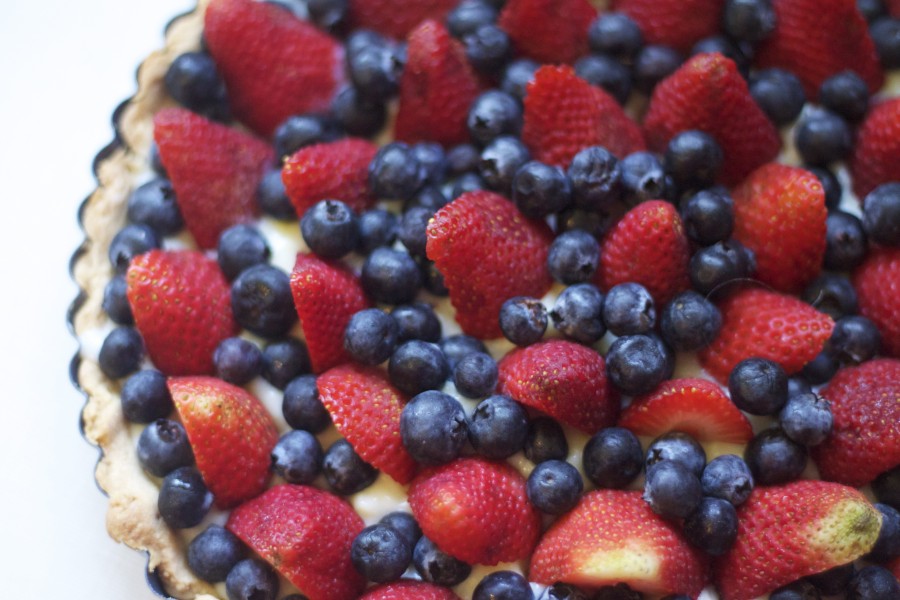
Normally, I’d use Jonathan’s words to tie this recipe into some larger point or purpose–how fruit tarts are an allegory for the way I try to please certain palettes with my cooking. But today, I think this French Berry Tart can speak for itself. Just look at it. This French Berry Tart is as beautiful is it is flavorful. As memorable as it is memory-making. As Great as it is Grape-filled (sorry, I’m reaching here).
Let’s just say, this tart may very well be the best, most Clearly Delicious dish I’ve ever made. Ever.
French Berry Tart
This recipe is adapted from one of the chefs at La Madeleine’s. In one of my very first Clearly Delicious posts, I “ummed” and “awed” at the price of a gorgeous flavorful La Madeline’s tart ($29.95 for this thing). Turns out, it can be made at home–quite easily–and for under $10. Dig in for a restaurant-style treat right in your kitchen!
Ingredients:
–Almond Crust–
* 1/4 Cup Almond Meal (1/2 Cup Sliced Almonds & 1 Tablespoon Confectioner’s Sugar Finely Ground in a Coffee Grinder or similar mill)
* 2 1/2 cups all purpose flour
* 3/4 cup (1 1/2 sticks) unsalted butter
* 2/3 cup confectioner’s sugar
* 1 large egg
* 1/2 teaspoon salt
* 1/2 teaspoon vanilla extract
–Filling–
* 1/2 cups granulated sugar
* 2 cups milk (I used skim)
* 3 tablespoons cornstarch
* 4 egg yolks
* 1/4 cup (1/2 stick) unsalted butter
* 1 teaspoon vanilla extract
–Topping–
* 1 pint fresh raspberries
* 1 pint fresh blueberries
* 1/2 pint fresh strawberries
* 1 cup jelly
OPTIONAL: sliced kiwi, pineapple, grapes, or mandarin oranges & tangerines
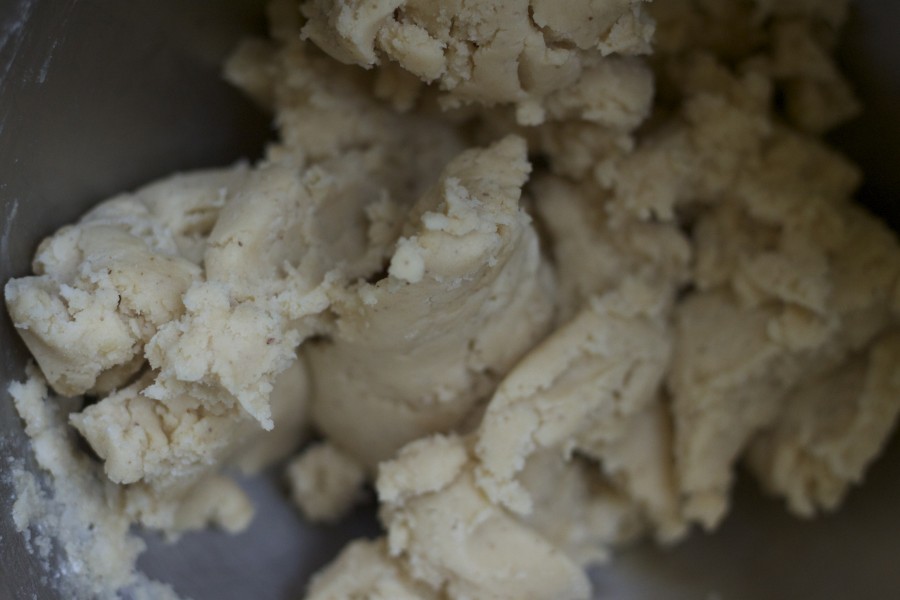
1.) Prepare the Pastry: in a coffee grinder, add confectioner’s sugar with sliced almonds. Grind until a fine powder develops. Add almond meal to all purpose flour and whisk to combine in a separate bowl. In a standing mixer (I use my Kitchenaid), combine butter, sugar, egg, salt, and vanilla until well blended. Slowly sift in flour and almond meal to this wet mixture. Mix all ingredients until fully combined and refrigerate for at least 2 hours before rolling out.
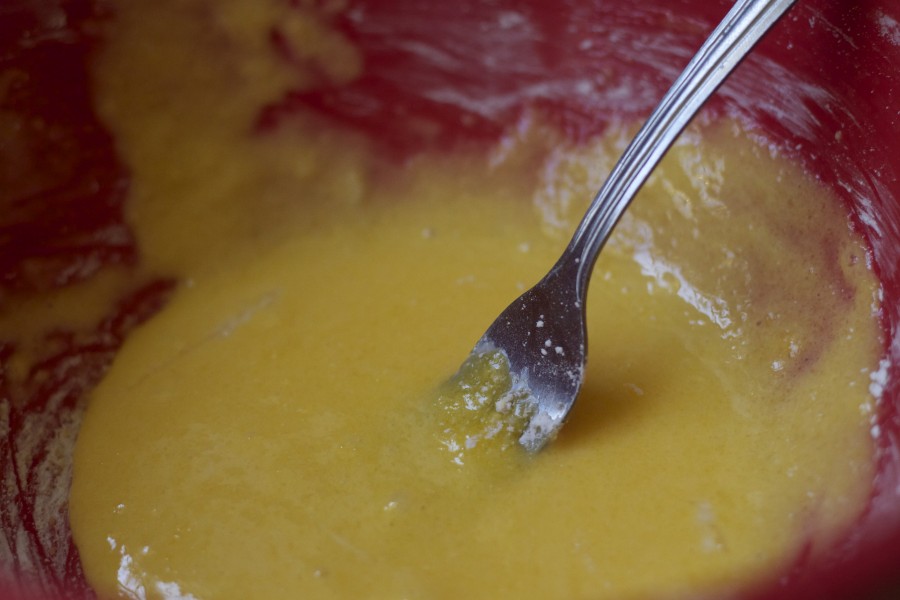
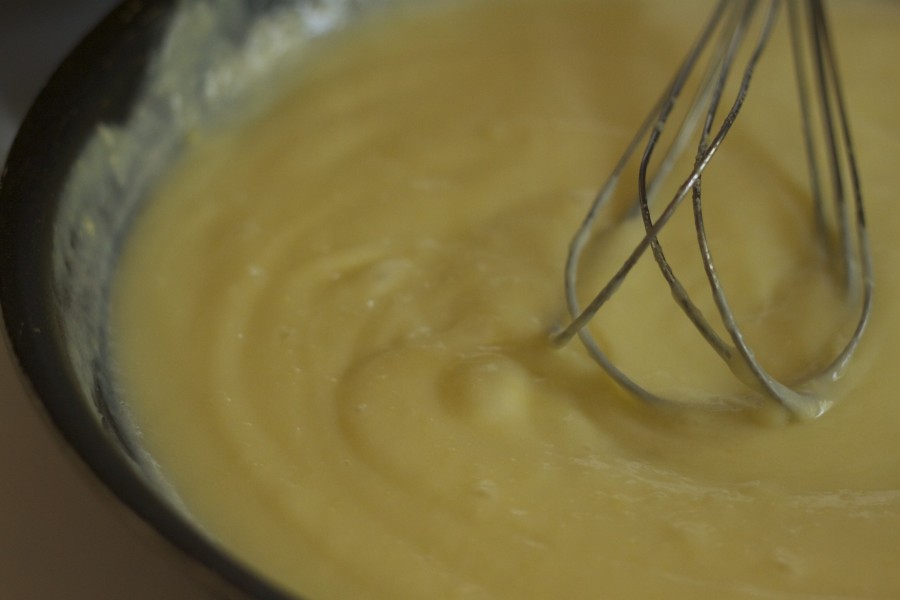
2.) Meanwhile, prepare the custard/filling: whisk together egg yolks, 1/4 cup sugar, and cornstarch.
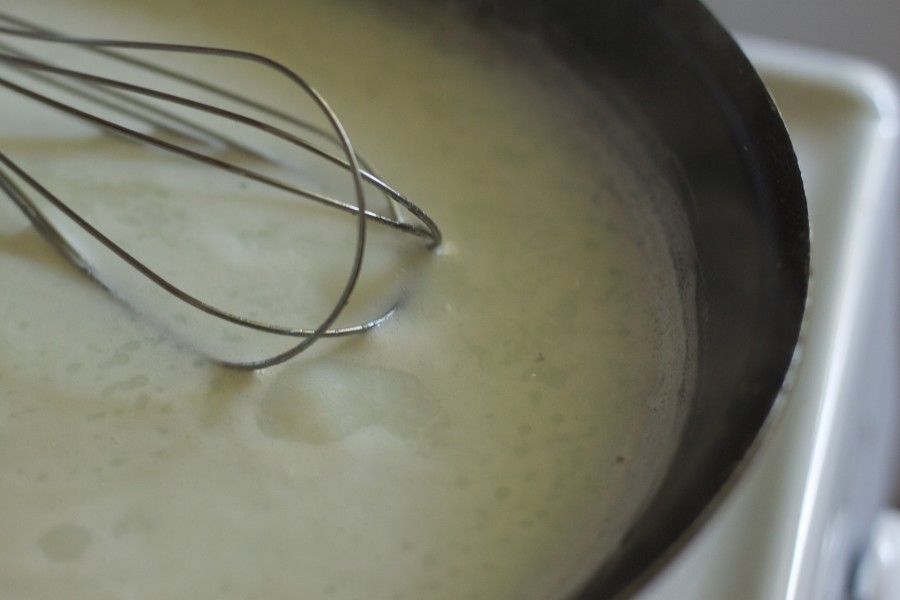
3.) In a large, non-stick saucepan, whisk 1/4 cup sugar (the last of the sugar) with 2 cups milk and bring to a boil, stir occassionally.
4.) Once milk and sugar mixture is boiling, pour 1/4 of the milk mixture into your whisked egg mixture to “temper” the wet ingredients, stirring constantly while you do this step. Remove milk mixture from heat and slowly add the egg mixture into the milk mixture (saucepan). Return this wet mixture to medium-high heat and whisk until the cream thickens and comes to a complete boil.
NOTE: it is of the utmost importance that you remove the milk mixture from the heat of the stovetop when adding your egg mixtures. The egg mixtures functions as the thickening agent, but it’s still an egg. If you do this step too slowly and over a high heat, the eggs will cook the second they hit your boiling milk and you’ll be left with a chunky custard that still tastes great, but will have large fat molecules throughout.
5.) Remove thickened custard from heat and add butter and vanilla, stirring until the butter is melted completely and integrated. Transfer custard to a bowl and refrigerate covered until ready to construct the pie.
6.) Once ready to cook the pie crust, preheat oven to 350F and flour a clean surface. Remove dough from refrigerate and roll out onto floured surface. The dough will be hard and cold, so it may take several minutes for you to get it to do as you want during this step. However, this is a good sign–all good pie crusts are hard to work with at first and persistence always yields to a great crust.
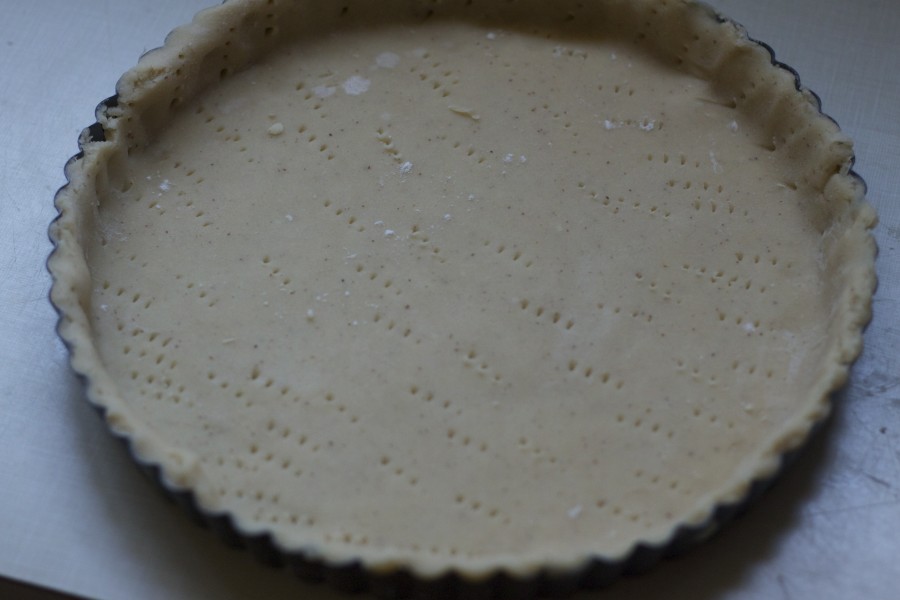
7.) Roll out dough to the size of your pan and add to a nonstick, loose-botttom tart pan. Press dough into tart pan, cut off excess dough, and puncture the bottom of the pie dough fully. Save the leftover dough for a future tart.
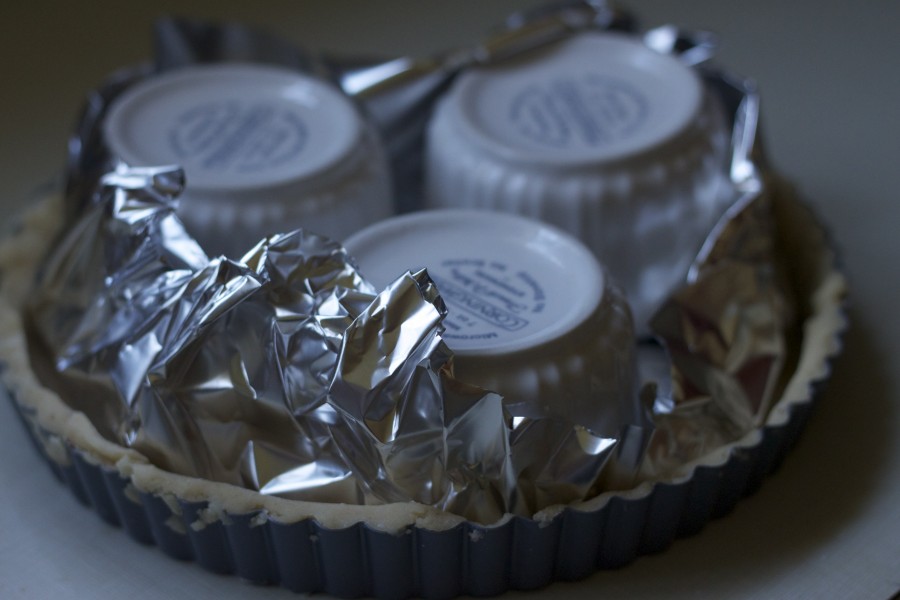
8.) Line pie dough with aluminum foil and use either ceramic oven-safe weights (pictured here) or dry beans as weights.
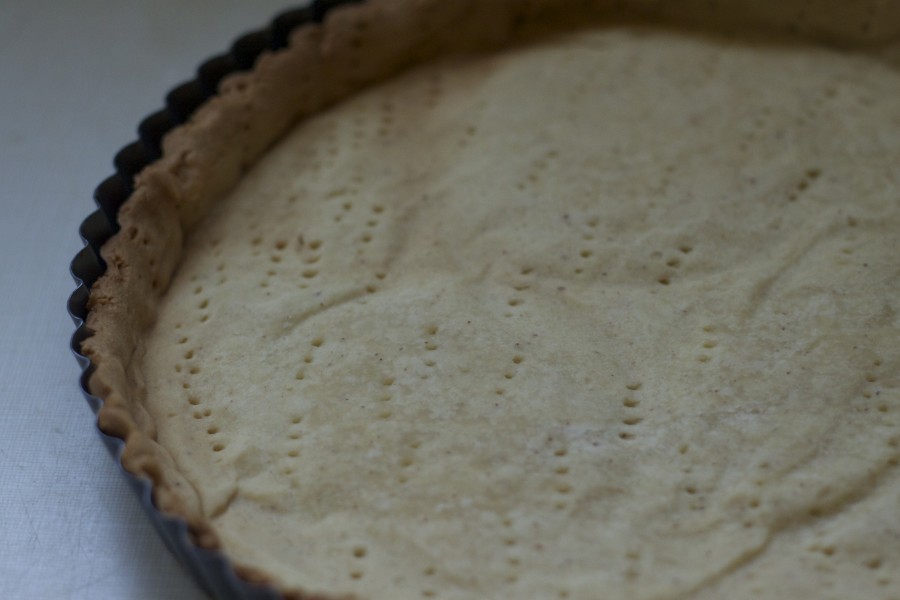
9.) Bake pie crust for 25 minutes or until golden brown (my crust took the exact 25 minutes).
10.) Remove crust from oven and allow to cool completely. Turn off stove.
11.) When ready to construct the tart–it’s best when constructed before serving–prep your topping ingredients. Halve strawberries, wash raspberries and blueberries, and slice any extra fruit you may be using (i.e., kiwi).
12.) Fill pie crust with refrigerated custard and top with mixed fruit. I decorated my tart in circular rounds, but really this step is an aesthetic choice.
13.) Once pie is decorated, add 1 cup jelly to a nonstick skillet and heat on medium-high until jelly had melted. Using a silicone pastry brush, paint the fruit with the jelly.
Serve immediately.
Enjoy! Makes 12 servings.
—
Follow me on Pinterest: http://pinterest.com/helana/
Twitter: https://twitter.com/DancesWLobsters
Facebook: https://www.facebook.com/pages/Clearly-Delicious/103136413059101
Tumblr: http://clearlydelicious.tumblr.com/
Instagram: http://instagram.com/helanabrigman

8 Comments
Lynne @ 365 Days
June 18, 2011 at 1:42 pmThere’s nothing like a fresh berry dessert. Absolutely beautiful and they always taste delicious! Yours looks divine.
Helana
June 18, 2011 at 3:17 pmThanks Lynne! Do you have any tarts at 365 days? I’d love to check them out. This one is easily the best recipe I have EVER come across.
Rosa
June 24, 2011 at 10:31 pmI just discovered your blog when I listened to Fat2Fit for the first time this week! I love your recipes and I can’t wait to test them all. Thank you for your contribution 🙂
Helana
June 25, 2011 at 3:40 pmThanks for such a sweet comment Rosa! Yeah, I love, love, love that Fat2Fit keeps using my recipes (thanks Russ! You rock!). Please let me know if you try any of these!
Clearly Delicious » Strawberry Tart
April 16, 2012 at 7:01 am[…] strawberries bedded on a light amandine tart crust, this dessert is strikingly similar to my French Berry Tart but without the custard. Here, I’ve swapped custard for a simple homemade gelatin mixture […]
Clearly Delicious » 7 Vegetable Couscous
September 1, 2012 at 10:38 pm[…] For those of us who know they take things for granted, here’s a little recipe to appreciate the little things. Easy, rustic, and super filling, this Seven Vegetable Couscous incorporates healthy fall vegetables in a simple broth made even more comforting by a fluffy bed of couscous. Moroccan in nature, this dish is a staple in the African country and served with helpings of lamb or chicken. Plus, I have it on good authority that this particular version tastes better than the tourist-y street versions you can get in the country (many thanks Jonathan Waknine). […]
Mariza
February 23, 2016 at 3:04 pmOh my word this look incredible! I’m always on the search for new recipes and will be coming back to your website more regularly now!
Next time i’m in the mood for baking this is what i’ll be making!
Mara
April 20, 2017 at 9:28 pmQuestion: What kind of jelly is used?