To say that I have been “too busy to blog” in the last two weeks would be an understatement. It would be the most trivial of understatements. I’ve been so busy, that if I had to stop and actually think about what I have been up to, I don’t think I could tell you half of what I did. I know that I prepared for my Master’s exam, took it, and passed (YAY! I now have a master’s degree!), prepped, cooked, and cleaned for two back-to-school parties and hosted them, finished writing several research papers, worked on my book, picked up my best friend Christina from the airport who visited for a week and a half, and then, started back school. Oy, my head feels like it could very possibly explode! And, in the meantime, I found time to make this fantastic red velvet cake covered in cream cheese icing and fondant.
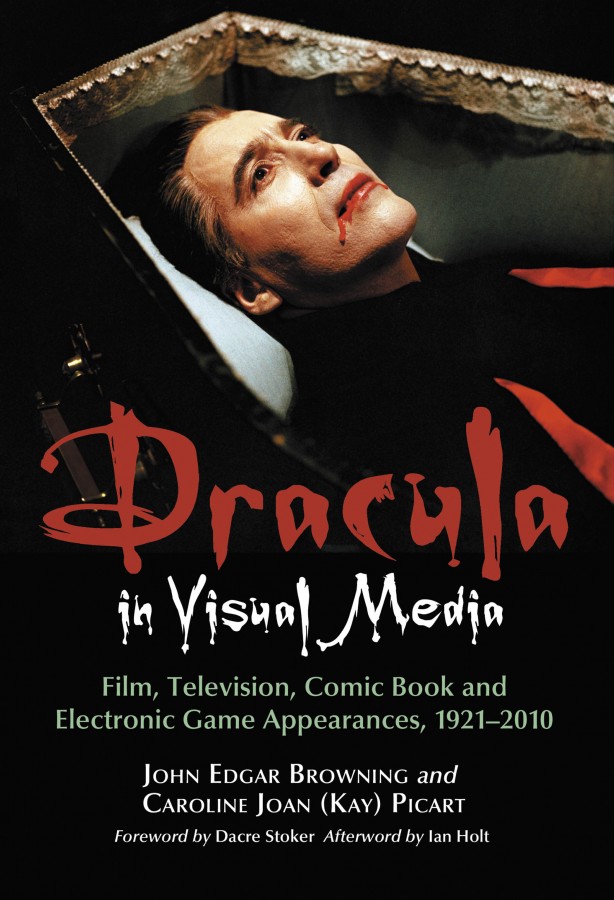
Although all of these events came with exciting memories and dishes that you’ll soon find on this blog, the one I am most excited to share with readers is the Dracula in Visual Media: A Book Made of Red Velvet Cake. I recently helped throw one of my best friends, John Edgar Browning, a book release party for his newest text Dracula in Visual Media (available this December from McFarland Press!). John amazes me constantly. In the last few years he’s published four books, worked towards his PhD, and been extraordinarily productive (meanwhile, Lindsay Lohan has been to rehab 4 times and made no good movies).
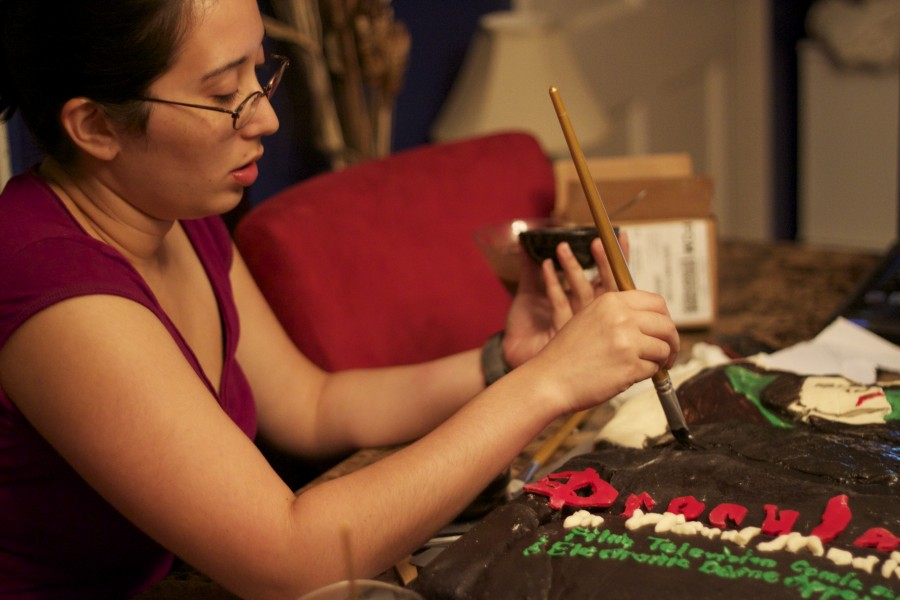
When prepping for the book release party, I needed a fantastic cake. Something that someone so special deserved. After toying with how I might make Count Chocula out of Fondant, or some similar creation, I decided to recreate his newest book in cake. This task was no easy one and had to be put together in increments over the course of three-to-four days. Many thanks go to Christina Janke for licking the spoon, tasting the icing, and most importantly, recreating Dracula with extraordinary accuracy on the fondant. I had quite the talented artist-side kick in this project!
For those of you versed in the world of cake baking and fondant, this is not a recipe for beginners. Rather, it is for the most dedicated of cake bakers, and the most devoted of artists. Although the recipe below yields one sheet cake, multiply the cake recipe by six to get the amount of sheet cakes reproduced for our party. The icing is doubled, so it should ice six sheet cakes reasonably, and the fondant is just large enough to cover the entire cake. To get the same effects with lettering, make a batch of fondant using the coloring that suits you best (here, we used red), and don’t be afraid to pipe colored icing as necessary. As for Christina’s enormously accurate Dracula, some stenciling and colored icing works just as great as paint, with the same effects.
This cake was, without a doubt, impressive. But not nearly as impressive as the man behind Dracula in Visual Media. Congratulations John for another wonderful addition to Vampire Studies!
Dracula in Visual Media Red Velvet Cake
Ingredients:
Cake
* 1 1/2 cups of sugar
* 1/2 cup (1 stick) of butter, room temperature
* 2 eggs, room temperature
* 2 1/3 cups of cake flour
* 2 tablespoons of Dutch-processed cocoa powder
* 1 teaspoon of baking soda
* 1 teaspoon of baking powder
* 1/2 teaspoon of salt
* 1 cup of buttermilk*
* 1 1/2 tablespoons of red food coloring
* 1 teaspoon of vanilla extract
* 1 teaspoon of distilled white vinegar
1.) Preheat oven to 350F. Grease an over-sized casserole dish (yes, you want a large sheet cake for a cake this size). Add butter and sugar to an electric stand mixer. Beat until light and fluffy (about two-to-three minutes).
2.) Add eggs one at a time. Scrape down sides of bowl after each addition. Mix until all eggs are fully integrated.
3.) Combine dry ingredients in a separate bowl. If you don’t have the patience to sift dry ingredients (like me), feel free to whisk the following mixture: flour, salt, baking powder, baking soda, and cocoa.
4.) In a separate bowl, whisk together buttermilk, vinegar, vanilla extract, and red food coloring.
5.) Using a meticulous back-and-forth mixing pattern, create your batter by adding 1/4 of the dry mixture in with the sugar and butter, then 1/3 of the wet, 1/4 of the dry mixture, 1/3 of the wet, 1/4 of the dry mixture and 1/3 of the wet ending on the last 1/4 of the dry mixture. Scrape down sides of the bowl and mix one last time to integrate.
6.) Pour batter into casserole dish and bake in oven for 25-35 minutes, or until a knife comes out clean. Transfer to cooling rack, and allow to cool fully before icing, or carving the cake. Lick spoon as necessary.
Cream Cheese Frosting
* 2 sticks of butter, softened
* 16 oz (2 regular containers) Philly Cream Cheese
* 2-3 cups powdered sugar
* 1 teaspoon vanilla extract
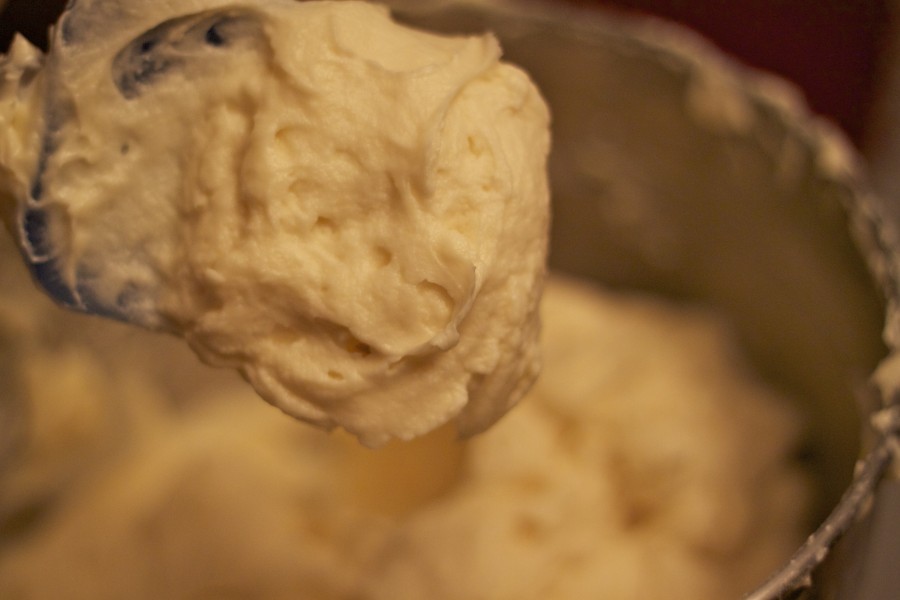
1.) Add butter, cream cheese, and vanilla extract to a kitchen aid bowl, or similar standing mixer. Using a mixing paddle, turn on low speed and mix to combine. Stop, scrape down sides, and mix one minute longer.
2.) Slowly, and I do mean slowly, add one cup of powdered sugar. After each cup has fully integrated, stop the mixer and scrape down the sides. Continue until all of the powdered sugar is integrated.
Assemble Cake
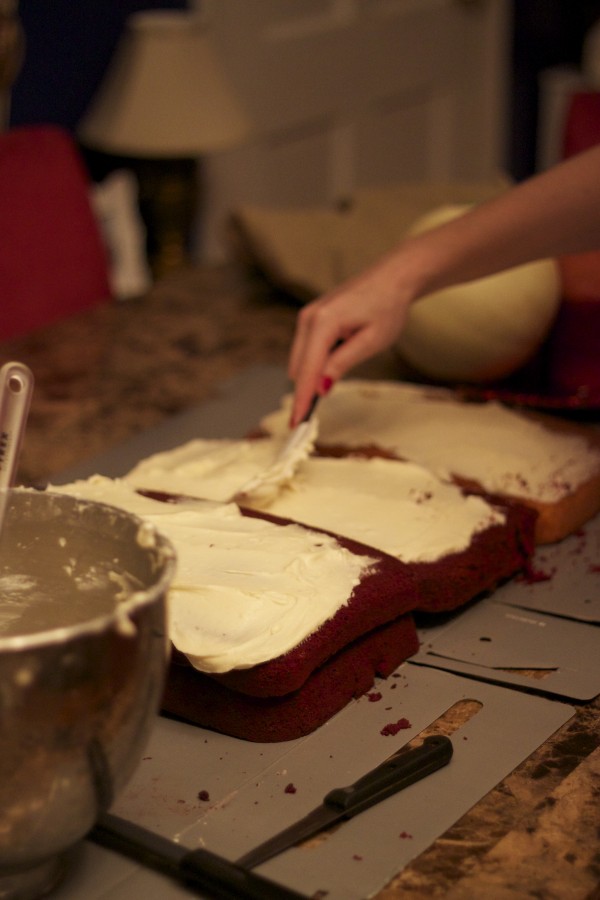
1.) Line six sheets of red velvet cake (and other flavors) on a stiff, strong cardboard base. Add large amounts of cream cheese icing between the layers and on top.
2.) Once the cake has been carved to the shape of a book and iced, you are ready to make and add the fondant.
FONDANT
* 16 oz. white mini marshmallows
* 2 to 5 tablespoons water
* 2 pounds powdered sugar
* 1/2 cup Crisco
This recipe comes from a chef named Peggy Weaver whose food and cooking website–Peggy’s Baking Corner–is certainly worth checking out for all of its useful tips on cake baking, fondant, and the like. You can find this basic fondant recipe here.
OTHER INGREDIENTS
* 1 small bottle of McCormick’s black food coloring (if you’re preparing the black layer, then use the below recipe and the entire small bottle of black food icing. It will be very black and you will be very pleased!).
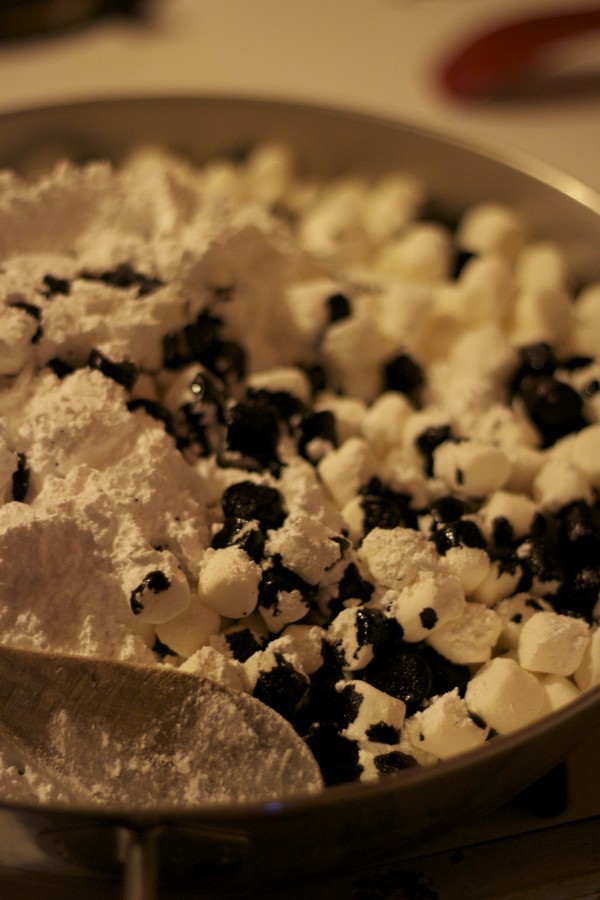
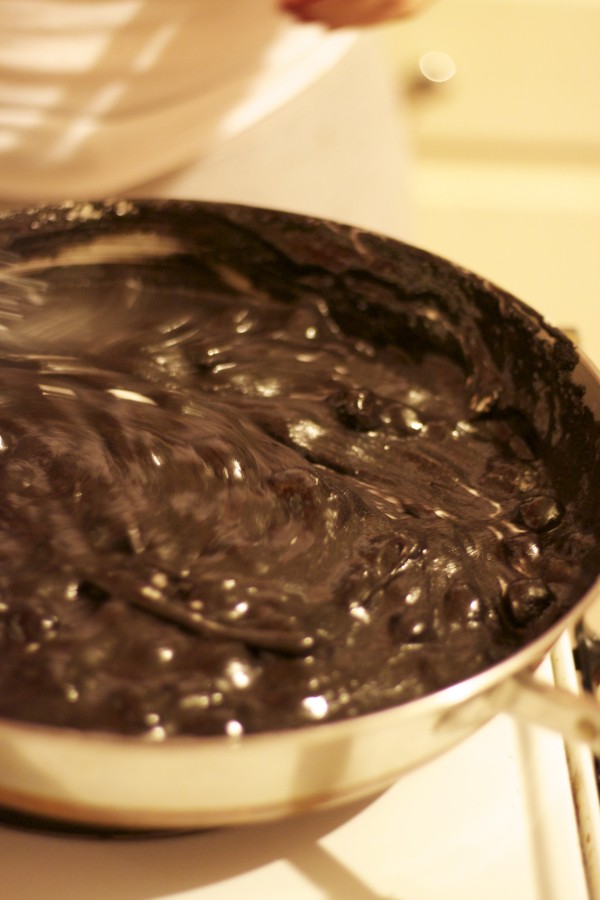
1.) Begin by melting the marshmallows. Peggy suggests you use the microwave, but the quantity of fondant this recipe yields is better suited for a large deep skillet on your stove top. Using a big deep skillet, add all of the marshmallows, 2 tablespoons water, and the bottle of food dye if you’re making the black layer of fondant for the book’s background (it’s water based, so the food coloring will easy substitute as the water necessary for this recipe). However, if you’re not dying this layer of fondant, add 2 more tablespoons of water.
2.) Stir constantly until mixture is smooth. Add 3/4 of the powdered sugar (just short of 2 lbs of powdered sugar) and mix in until fully integrated.
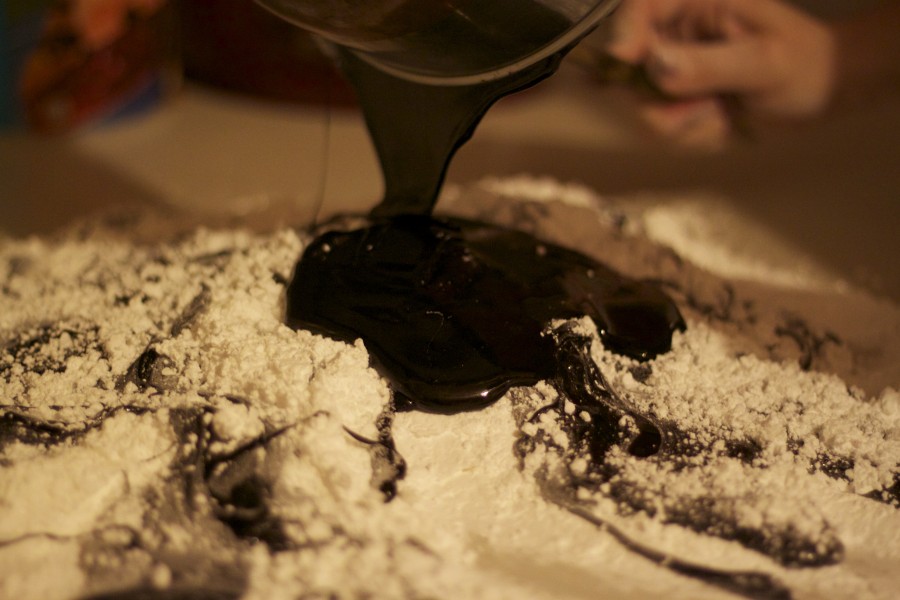
3.) Grease clean surface or counter and add the remaining 1/4 cup of powdered sugar. Empty pan onto surface and thoroughly grease your hands.
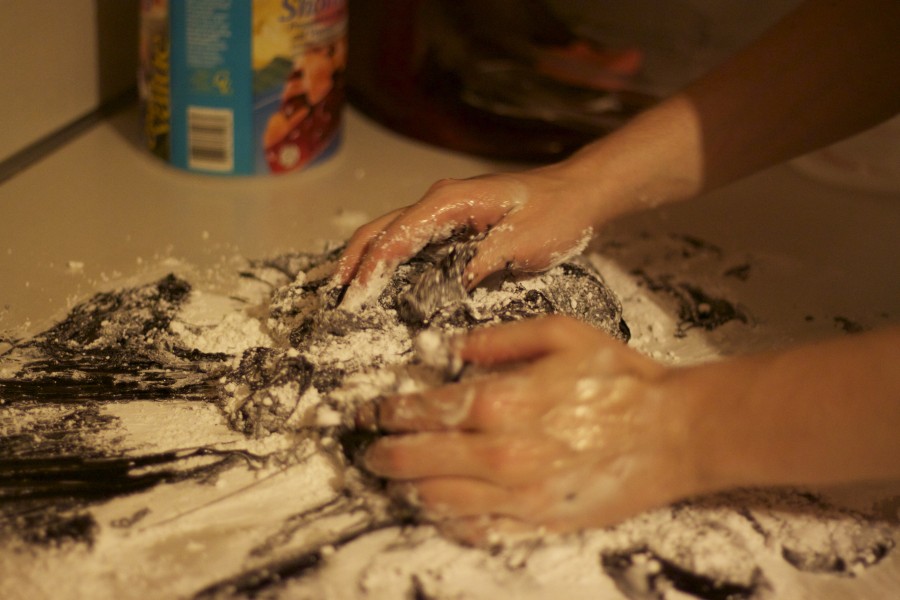
4.) Begin kneading the fondant like dough. Add the powdered sugar thoroughly and continue to knead until a stiff, but sticky dough forms. If your dough tears too easily, add a tablespoon of water until the texture feels stiff and stretchy. If the dough is too wet, add more powdered sugar, or a teaspoon of corn starch at a time.
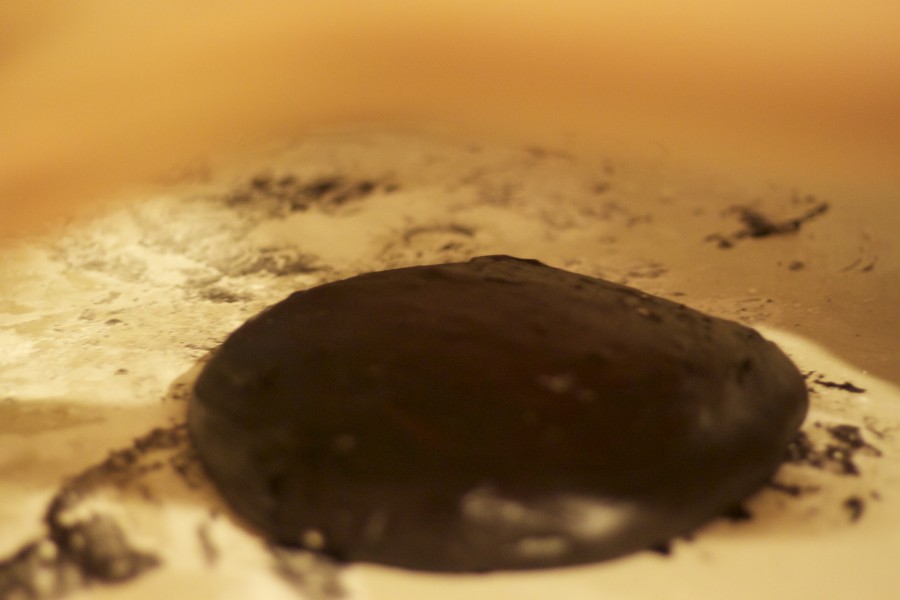
5.) Fondant may be used immediately, but Peggy suggests wrapping fondant in plastic wrap and refrigerating overnight. Fondant will keep in the freezer for a couple months, but I prefer to use it within 24 hours.
Decorate Cake
1.) At this point, the hardest stuff is over: you’ve made, carved, and iced the cake. Plus, you went through the somewhat gruesome process of making homemade fondant. When you’re ready to fondant the cake (and I suggest doing this as soon as possible), add starch to a clean countertop surface much the way you’d flour a surface before rolling out dough.
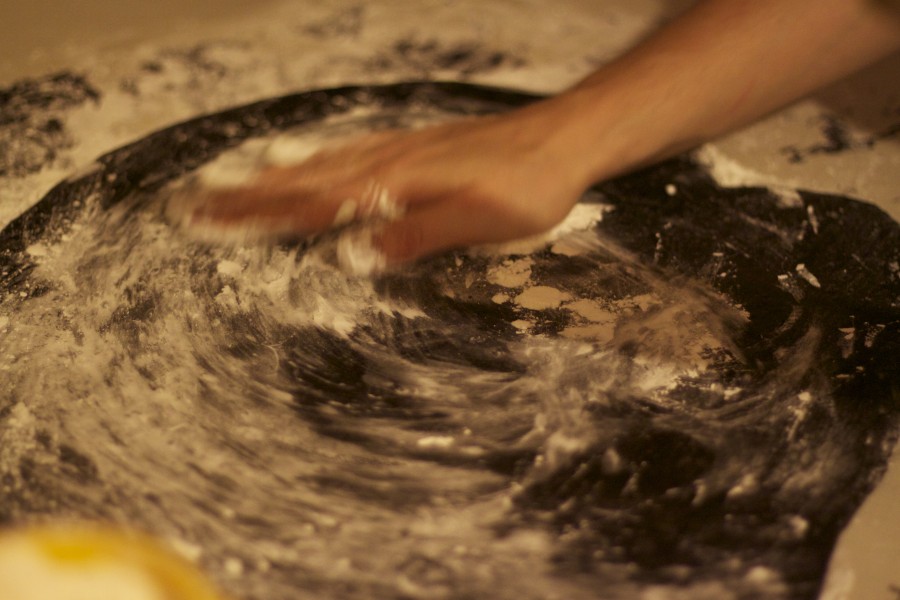
2.) Add the ball of fondant to the surface and using a combination of starch, rolling pin, and might, get the fondant as thin as possible (somewhere between 1/4 inch and 1/2 inch). Make sure to keep adding starch to the surface so that the fondant does not stick to the counter. However, since you’re working with black fondant and starch is white, this last step is somewhat tricky as too much starch can distort the coloring of the fondant. Basically, be careful and pay close attention to what you’re doing.
3.) Transfer fondant to cake gently and lay fondant smoothly across cake surface. Press in corners so that the fondant hugs the cake.
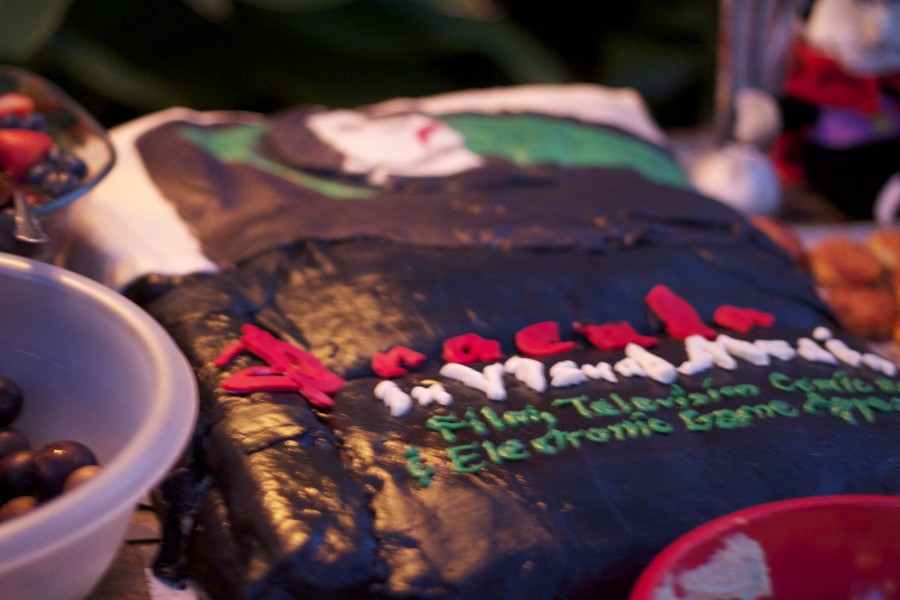
4.) Now, you’re ready for the fun stuff: decorating. I can’t give too much instruction on this final step as it is different for every home cook. For Christina and me, we used a combination of homemade fondant and colored icing to recreate the lettering of the book’s title and Dracula’s face.
5.) Once cake is done, serve to hungry vampires. Enjoy! Feeds 75-100 people.
And, my favorite pic:
Dracula in Visual Media: A Book in Red Velvet Cake ,


1 Comment
Clearly Delicious » 4 Days of Fresh Tables
April 1, 2013 at 2:24 am[…] and as often as possible. To make this last week even better, my best friend Christina (as seen here and here) visited from Charleston, SC, and made this one of the happiest ways to kick off spring. […]